make a tie-cord
I-cords are great.
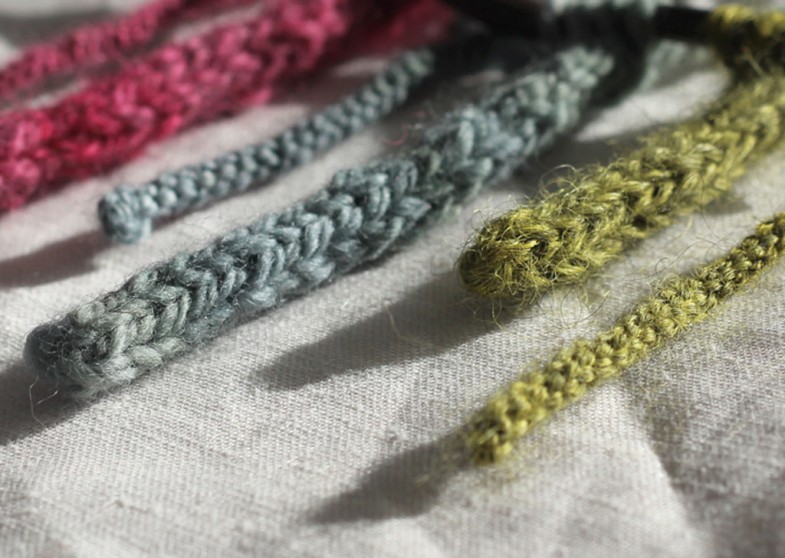
For example as ties on a baby cardigan like marja-stina:
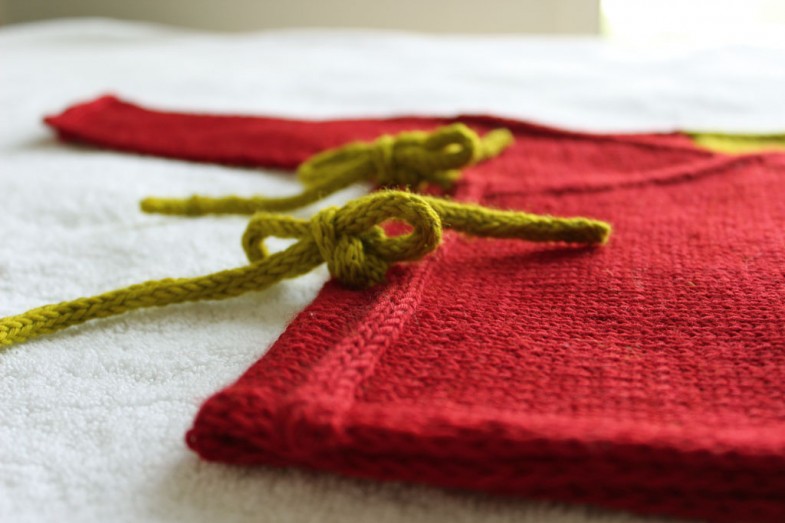
For some purposes a thinner, sturdier tie or cord is the ticket – a tie-cord. For example, for the inside tie on marja-stina – or as front closing on Stjerneskud:
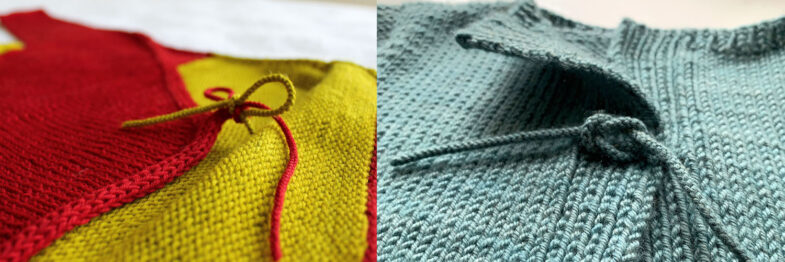
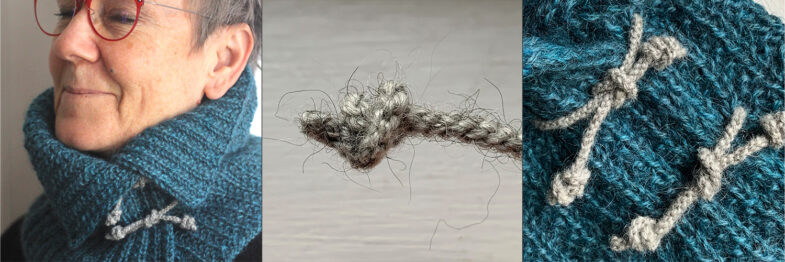
They work great also on a cowl or split collar
Tie-cord making was apparently taught to children of my vintage (not really old, but also not young) in both Sweden and France – and probably elsewhere, too. It is not finger knitting.
In Swedish it is known as to “påta” – a verb. I have heard neither a verb nor a noun for the resulting object in English – so until told otherwise I’m calling the finished thing a tie-cord.
How to make a tie-cord
Making a tie-cord is akin to crocheting a single chain with your fingers.
The “crocheting” is done alternately from right and left.

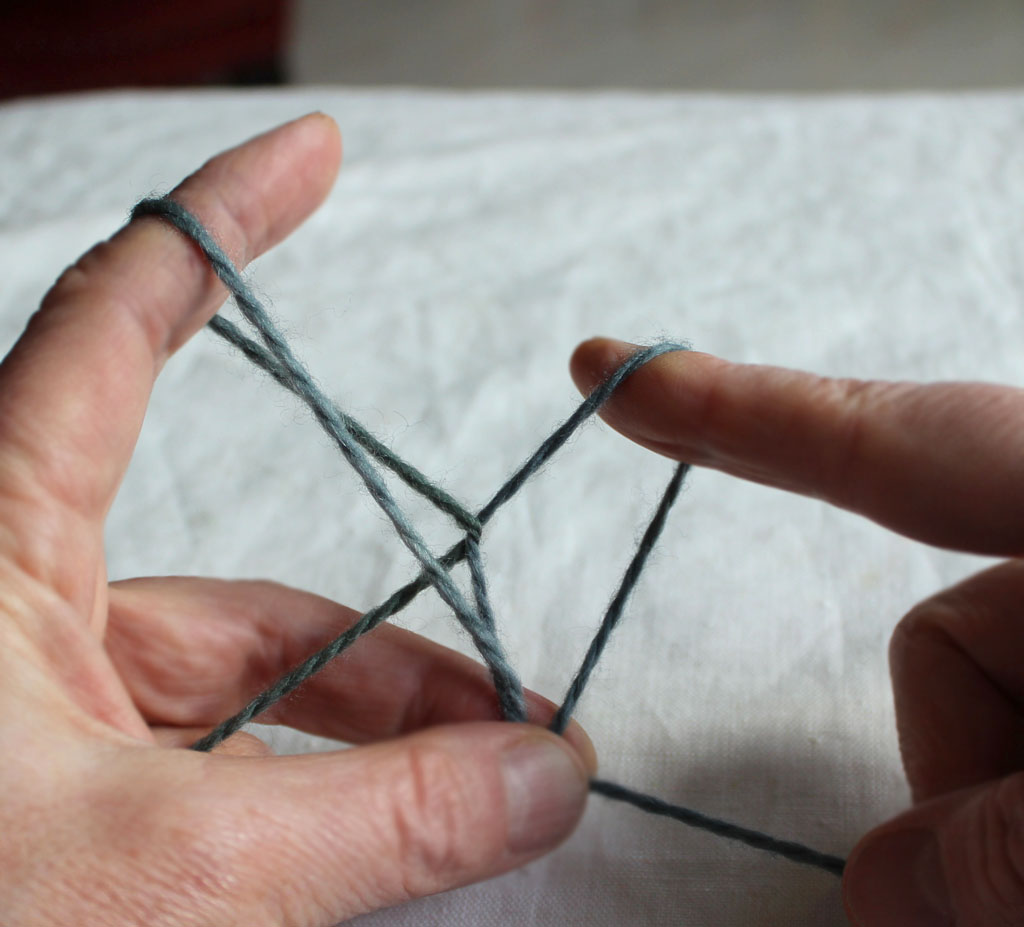
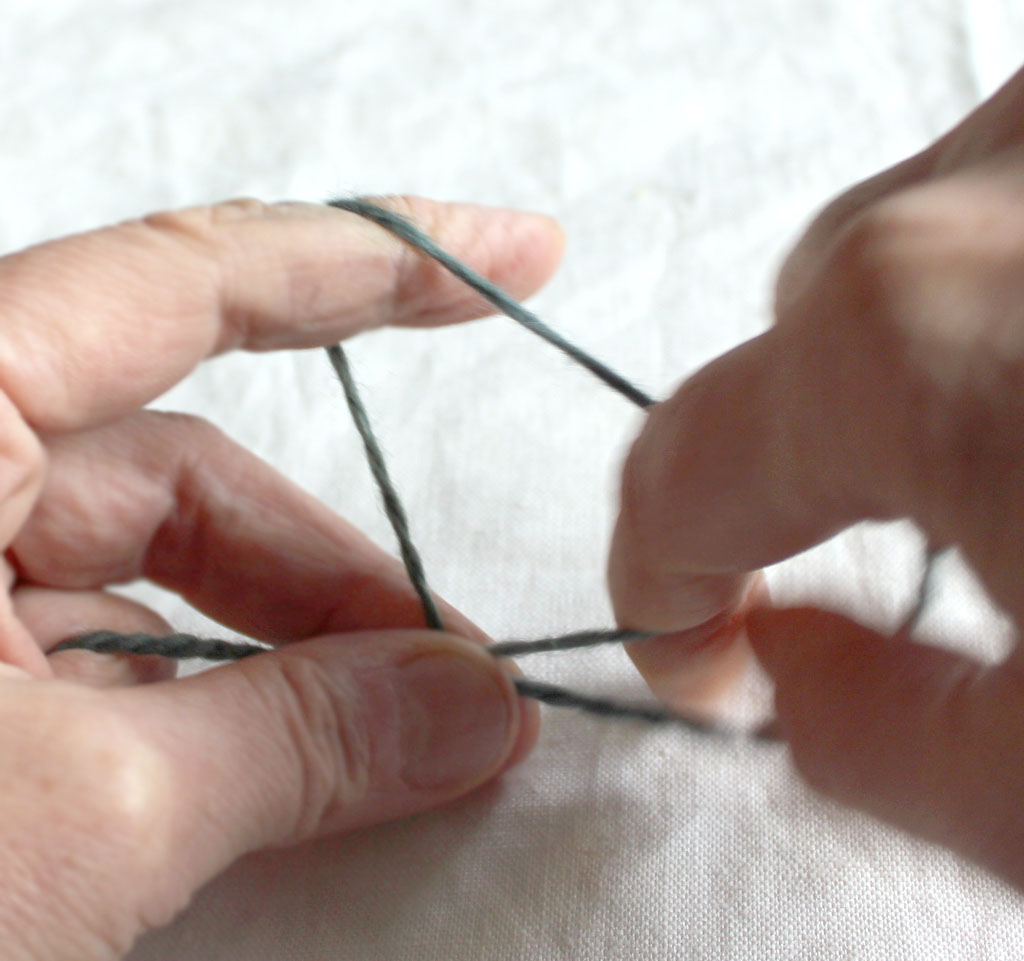
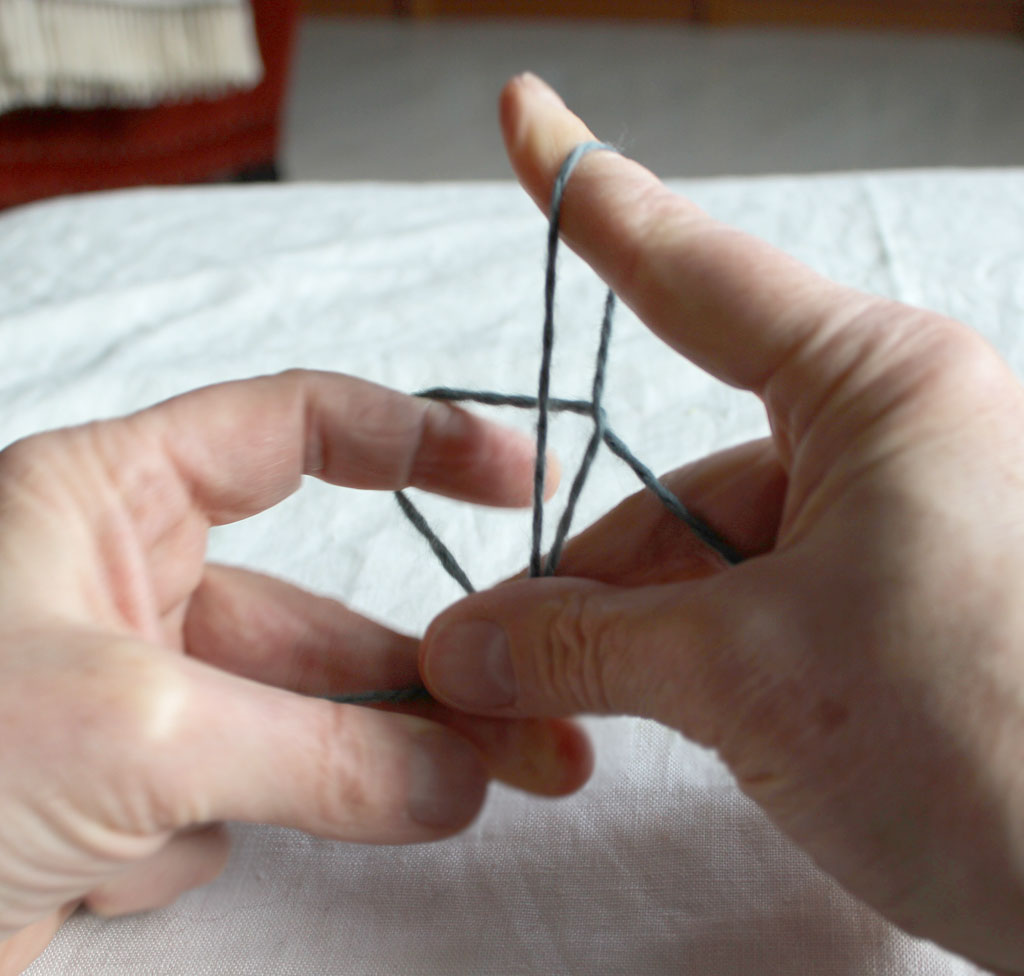
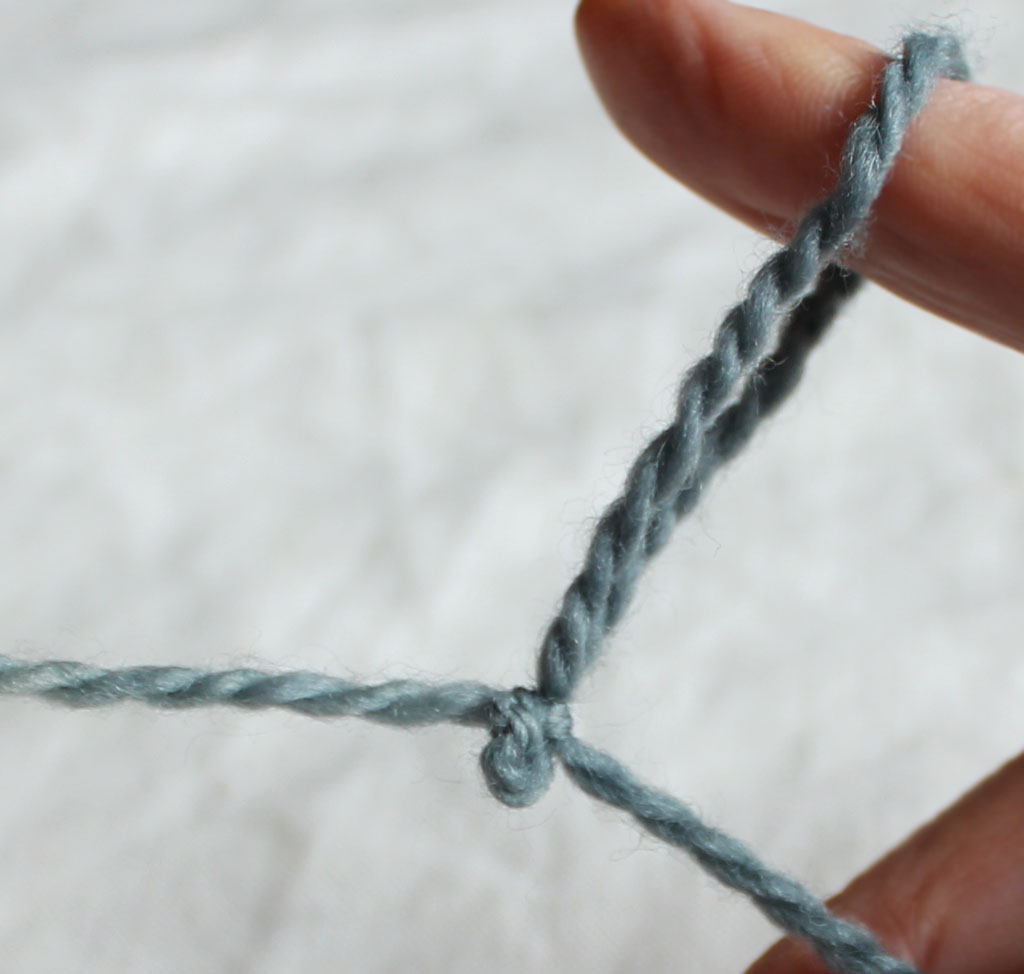
1. Make a slip knot (with an end of about 100 cm/ 40 in) and place it on your right index finger.
(the fixed end to the left, the slipping/running end anchored in your right hand)
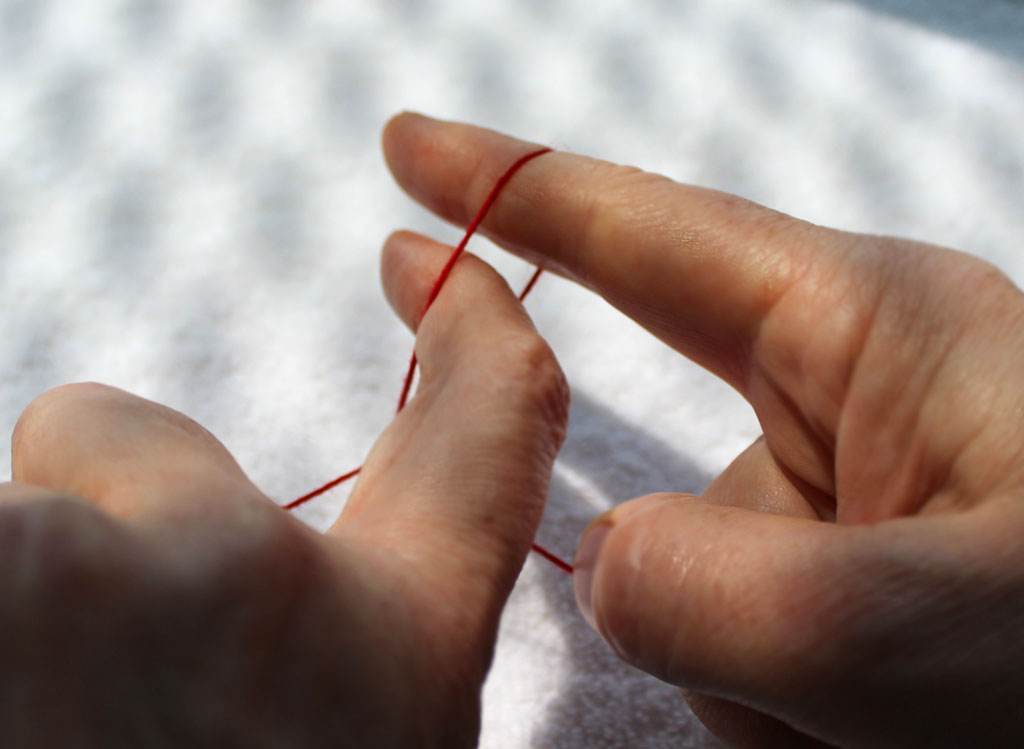
2.With left index finger, go into loop from right to left (from ‘behind’), while holding ends in place in each hand, and…
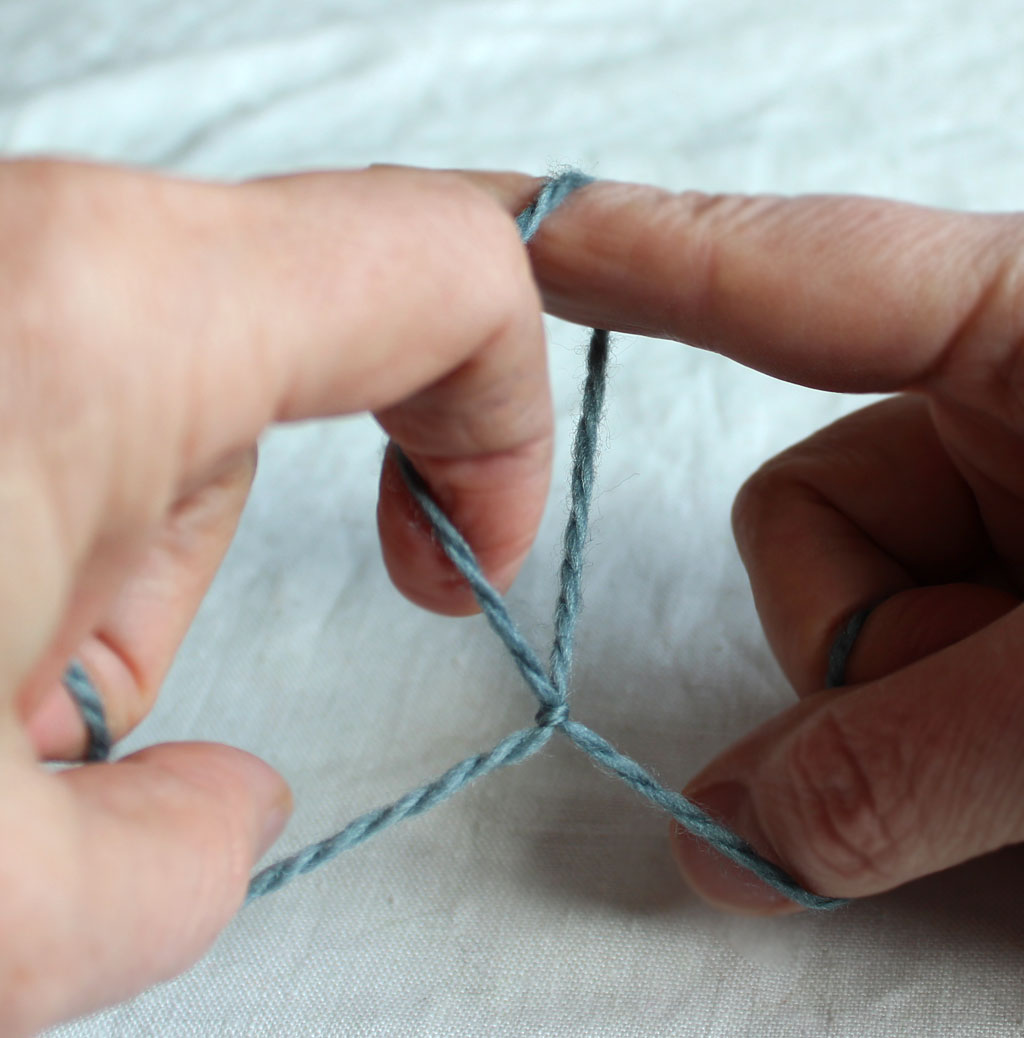
3. … fetch (scoop up) left yarn to make a new loop on left index finger.

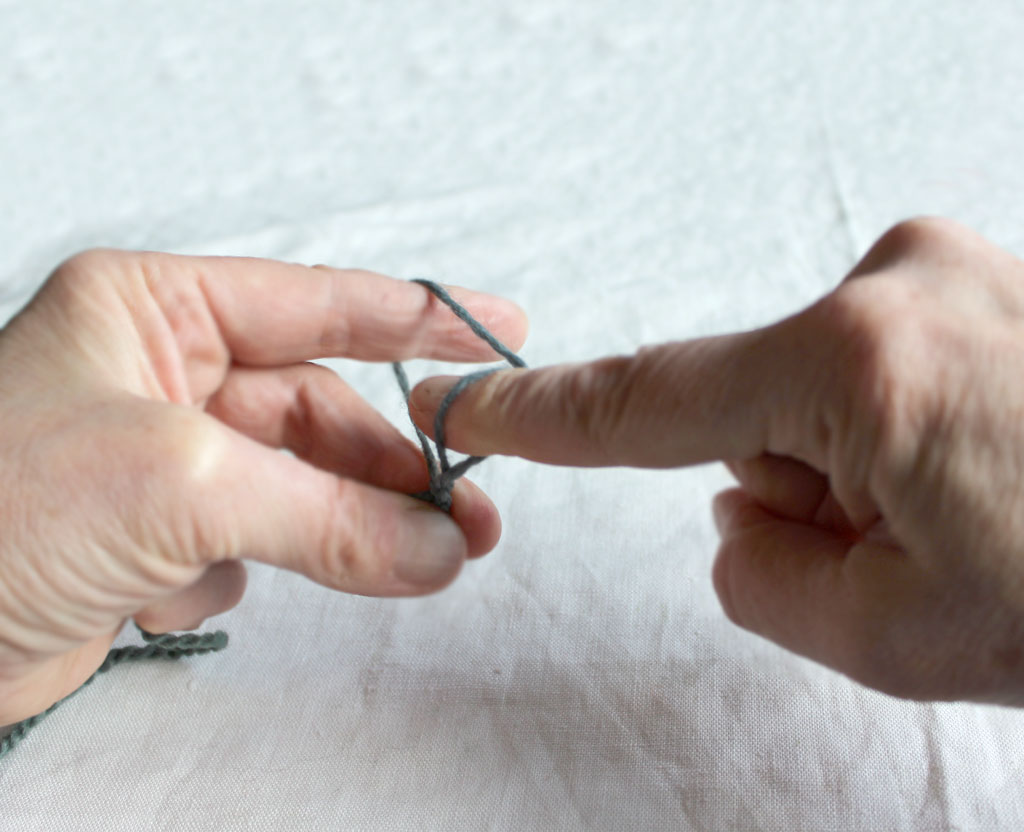
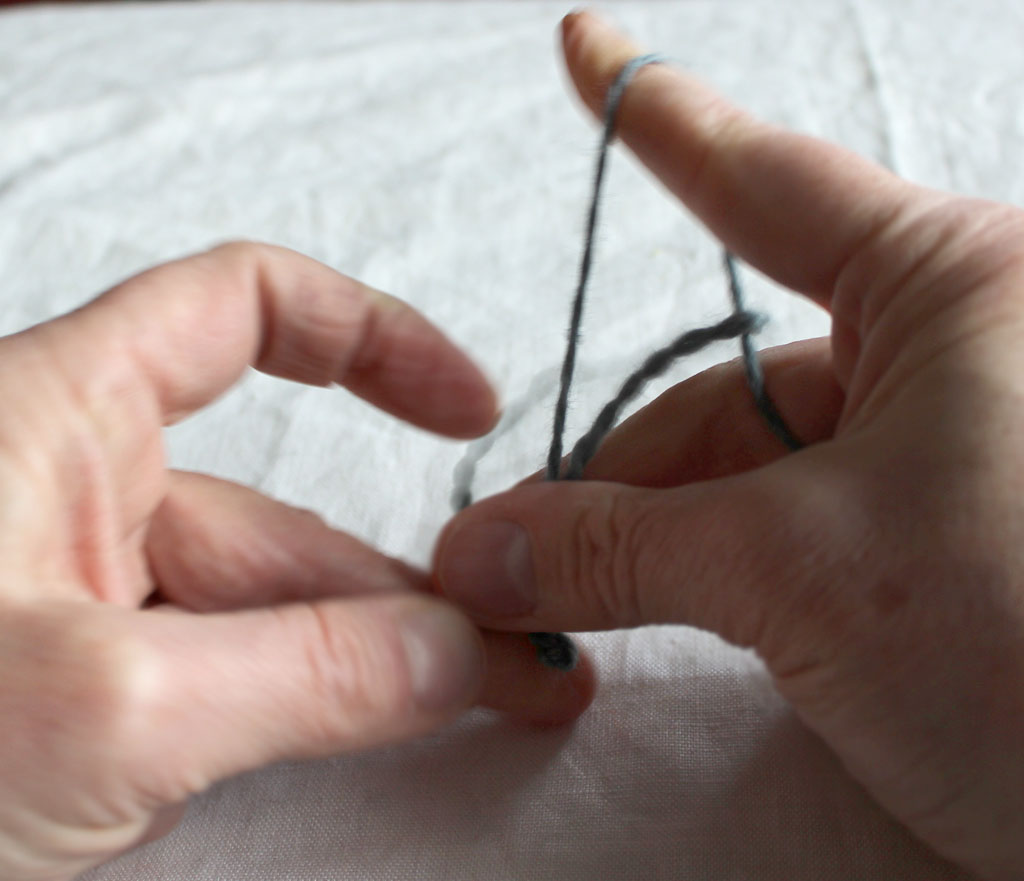
3b. Fetch the yarn with left finger bring it through, while also pinching the slipknot between right thumb and middle finger.
4. You have a new loop on left finger, still pinching the slipknot with right thumb and middle finger.
Let go of the pinch in order to catch and pinch it with with….
4b. … left thumb and middle finger.
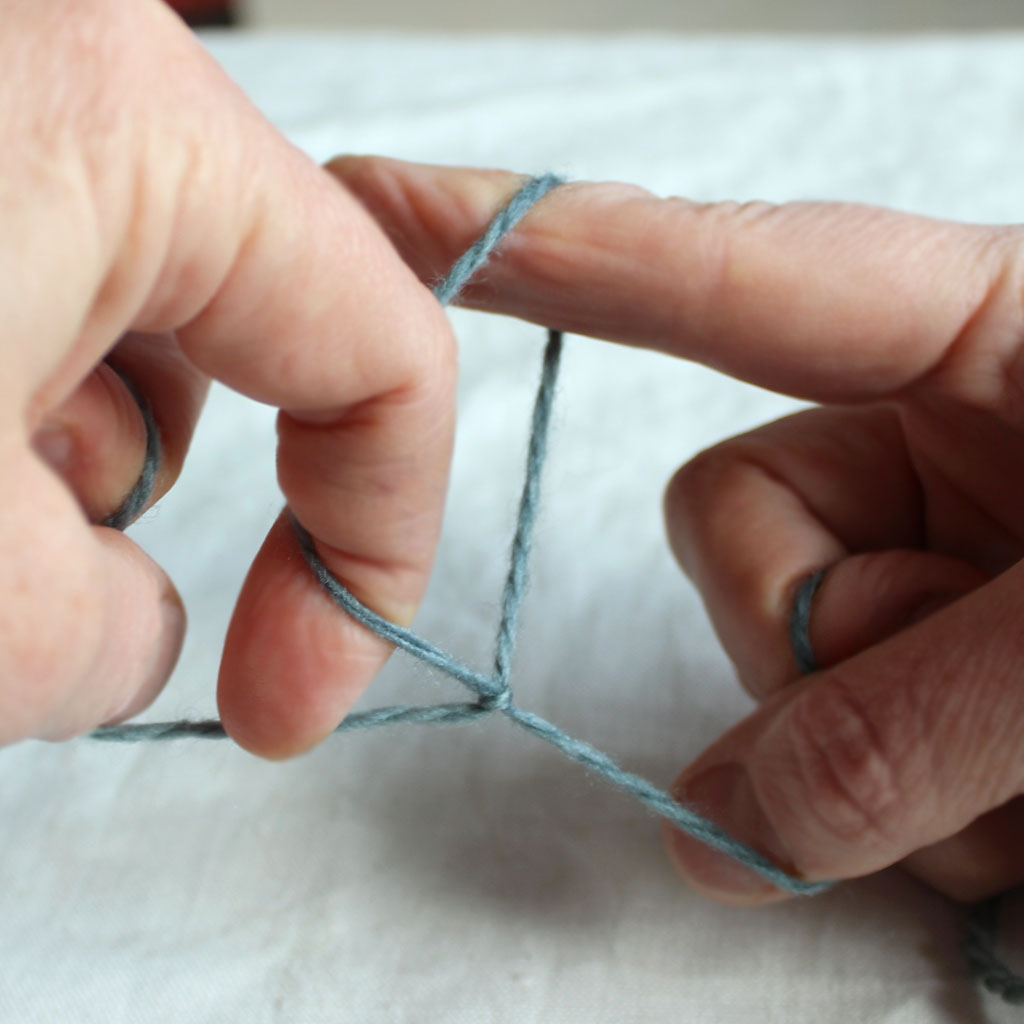
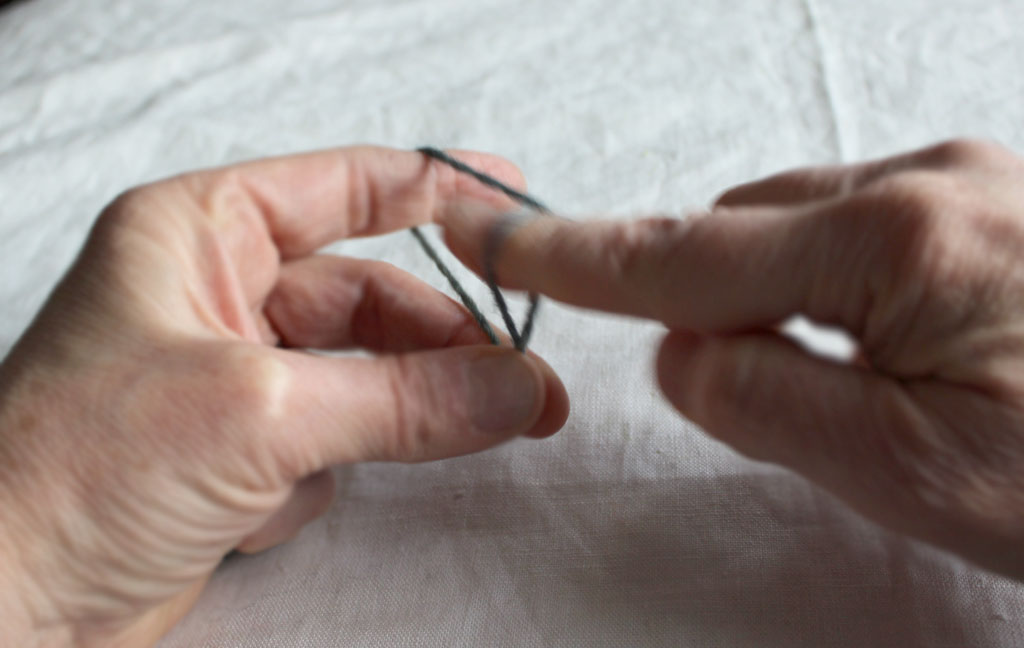
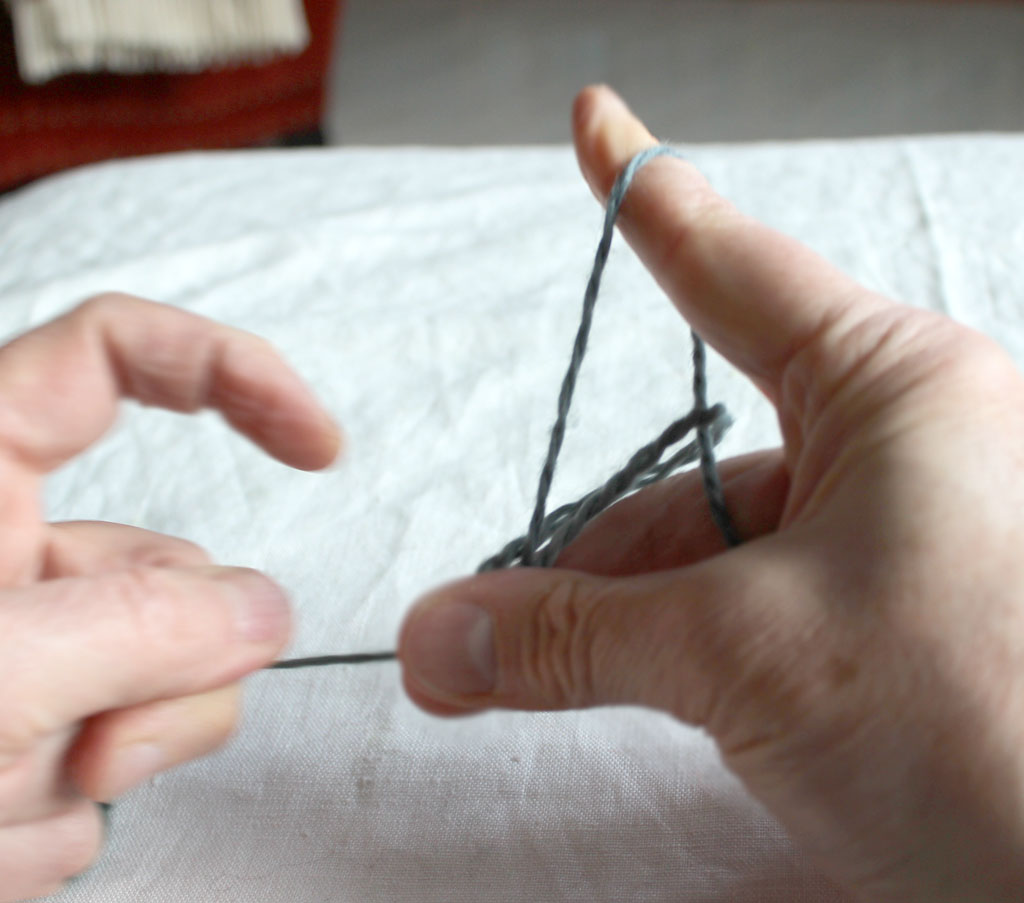
Allow the loop on right finger to slide off.
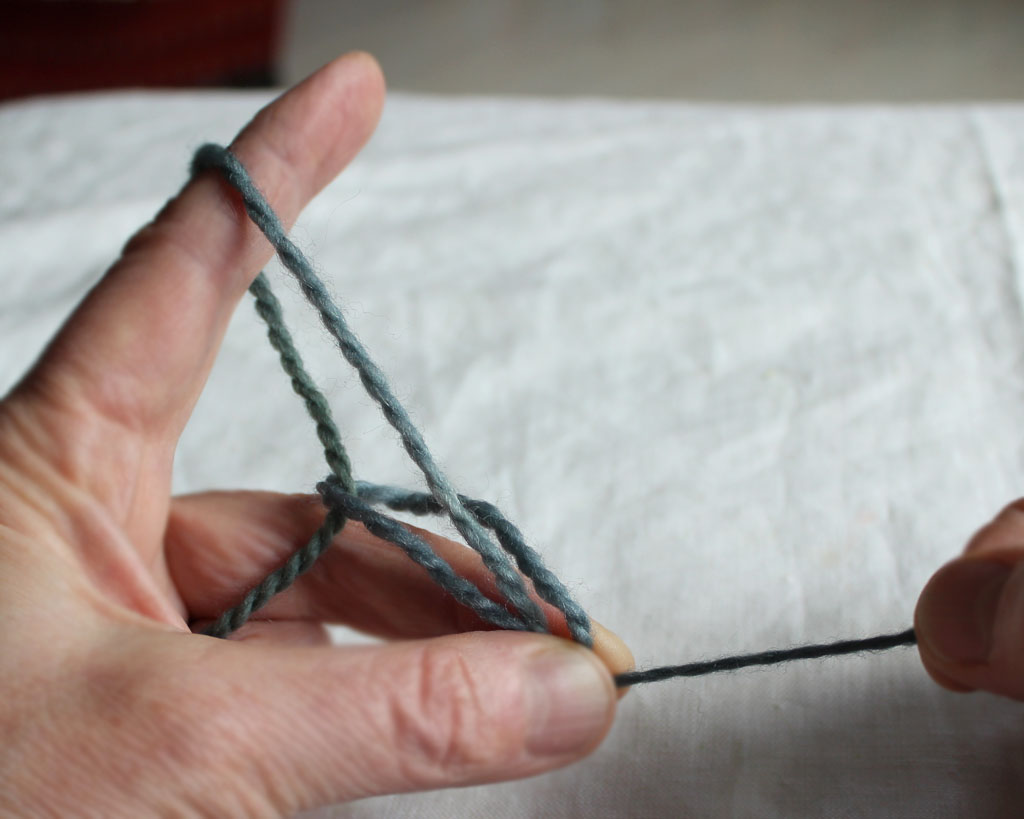
5. Pull on right end to tighten the slid-off loop – still pinching the knot, just tightly enough to let the yarn run through it.
You have the first little knot of your tie-cord.
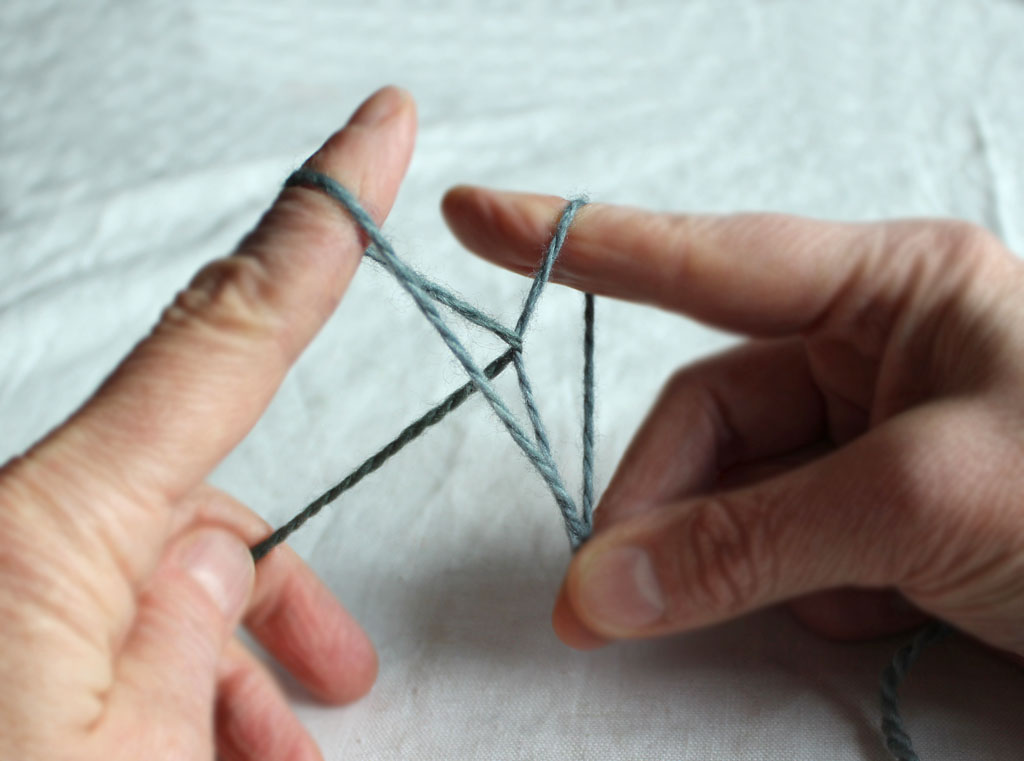
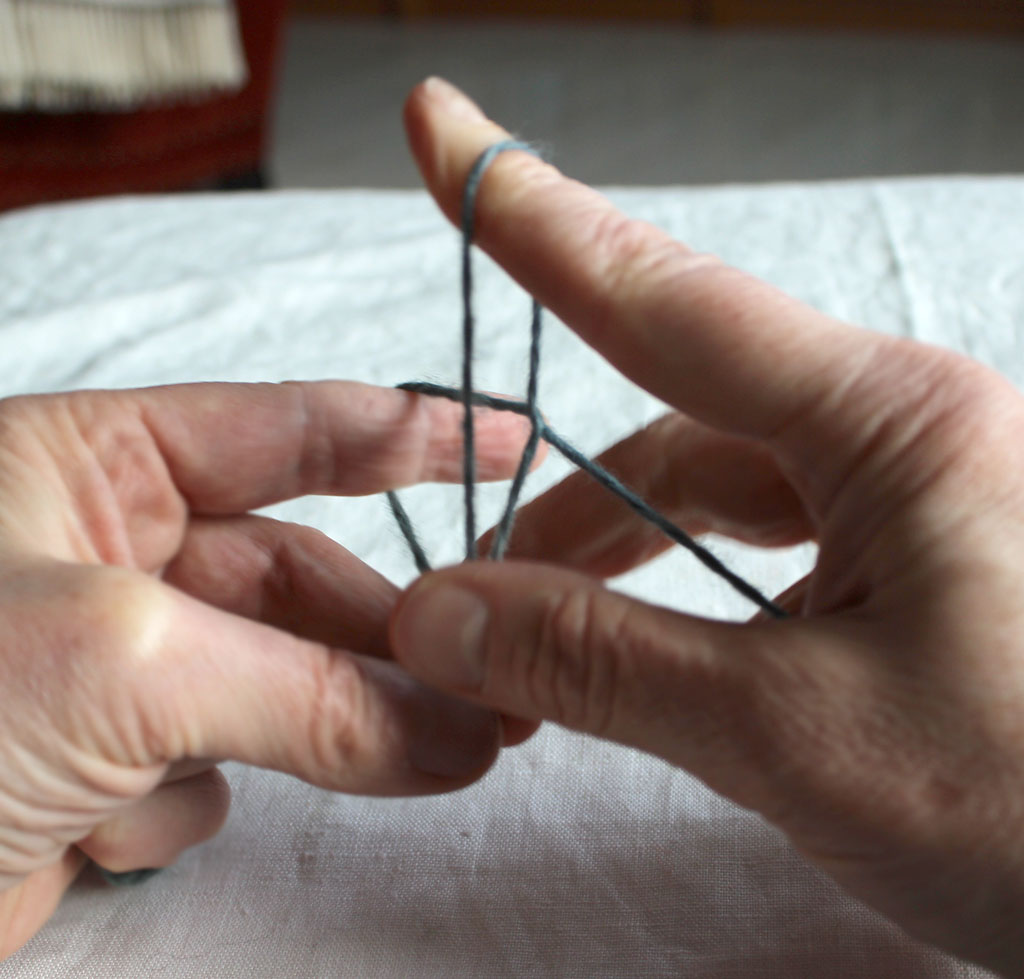
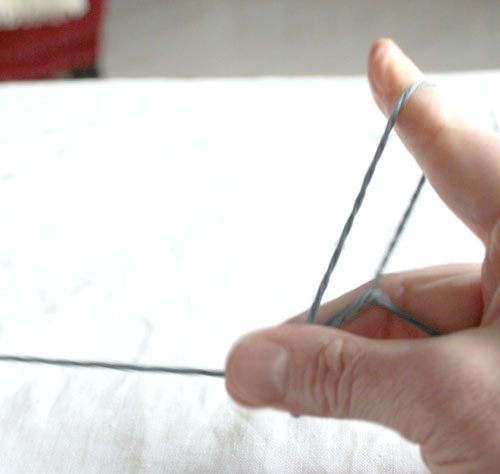
Now repeat Steps 2 – 5 with the right index finger.
2. Go into loop from left to right (from ‘behind’) to fetch right yarn.
2–3. Fetching the yarn…
3a. …bringing it through to make a new loop…
3b. … a new loop on the right index finger.
4. You have a new loop on the right finger.
4b. Switch grip to pinch slipknot with right hand and allow Left Loop to slide off left finger.
4b. Letting go of pinched knot with Left Hand, pinching with Right Hand, Left Loop…
4b. … is sliding off Left Finger.
5. Pull on Left end to tighten loop into a slightly overlapping knot on top of last knot.
5b. Tighten more (while pinching slightly) until the new knot is snug.

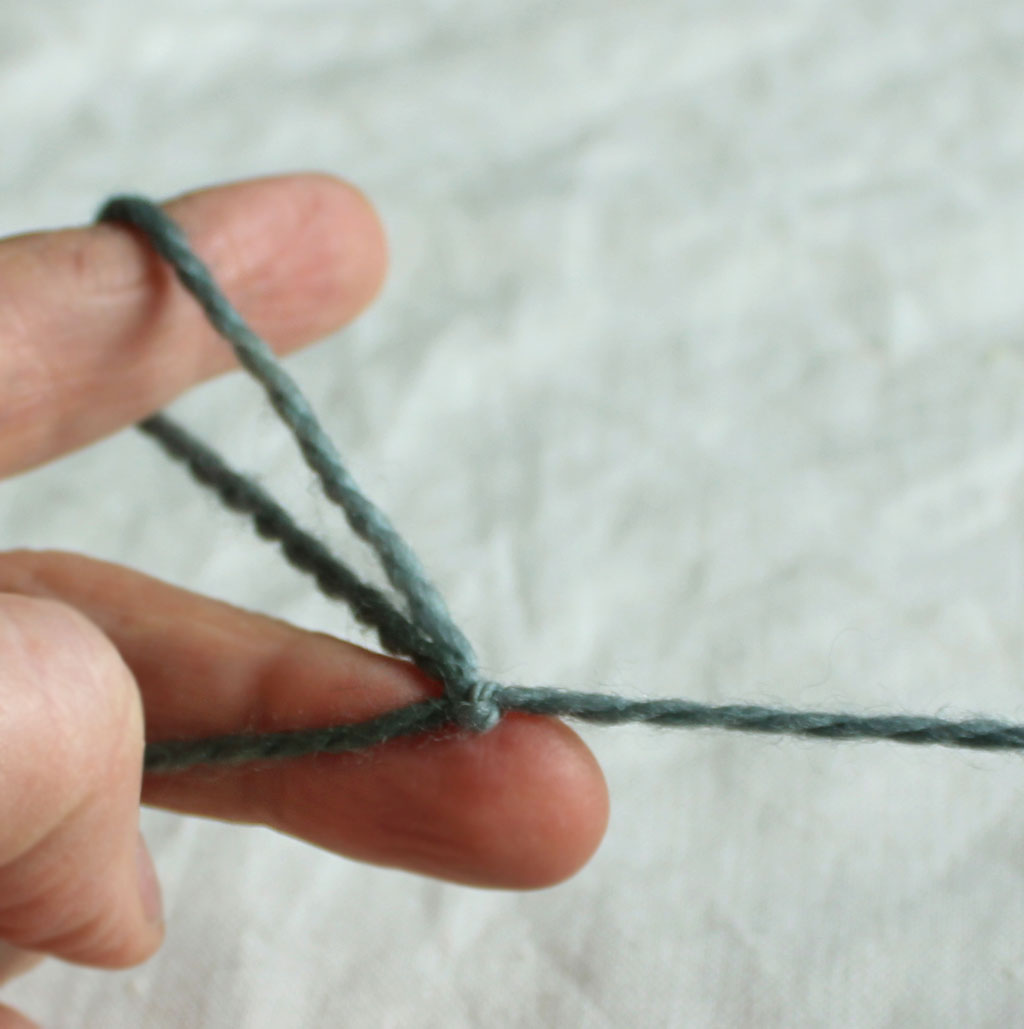
Snug
Snug closeup
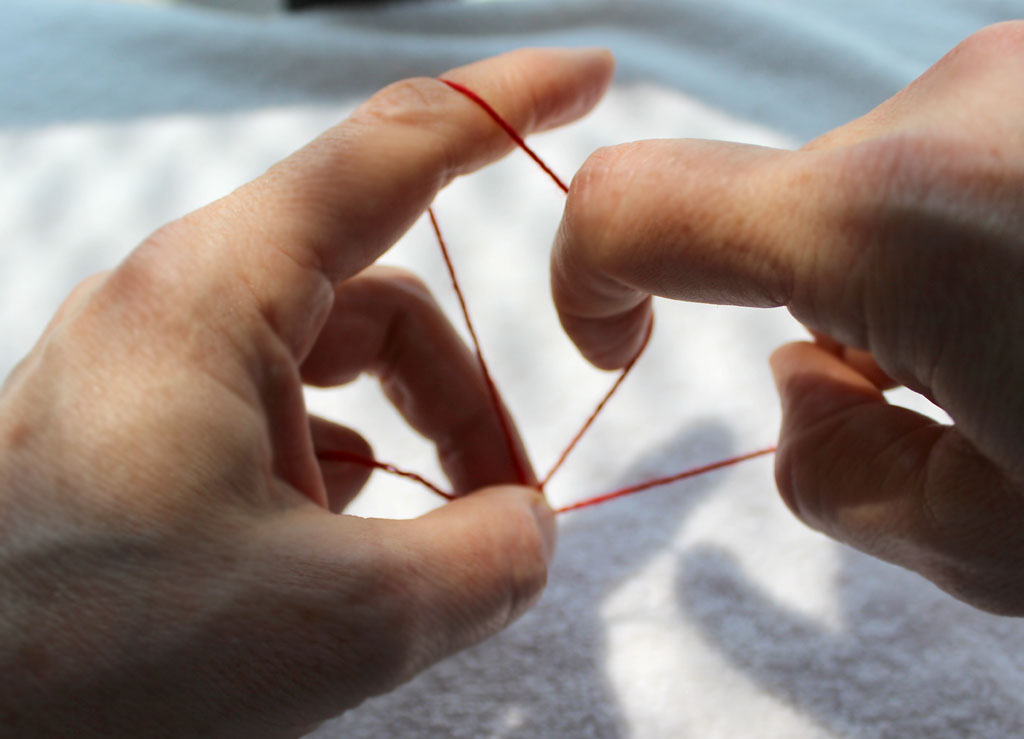
Repeat Steps 2–5 with left finger, then with right again. And so on.
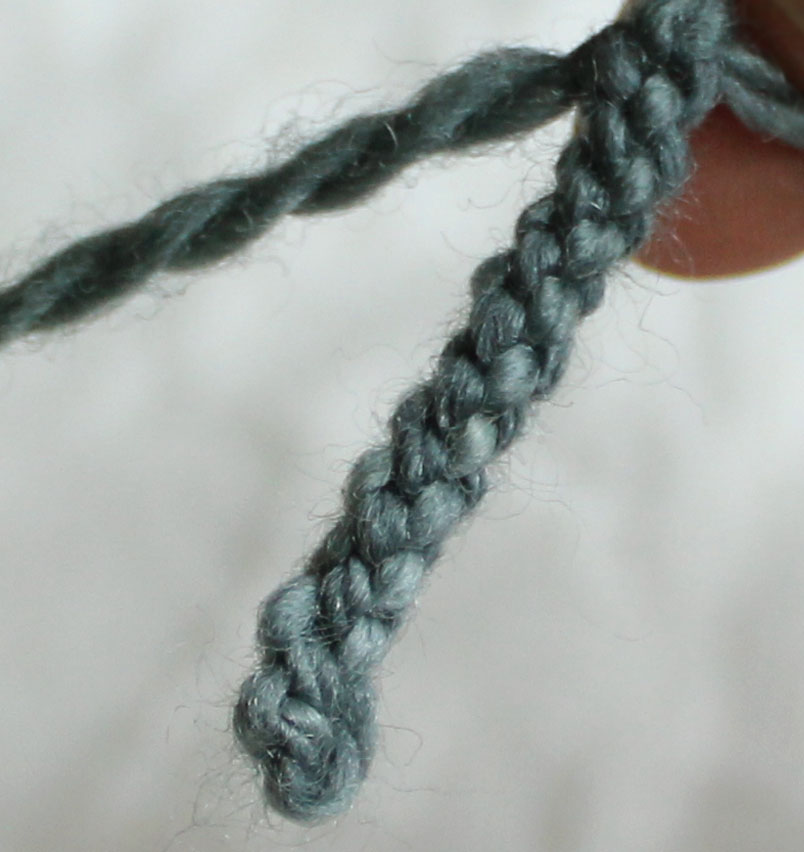
After a few repeats you have the beginnings of a tie-cord.
Two-colour tie-cords are also possible.
Happy tie-cording!
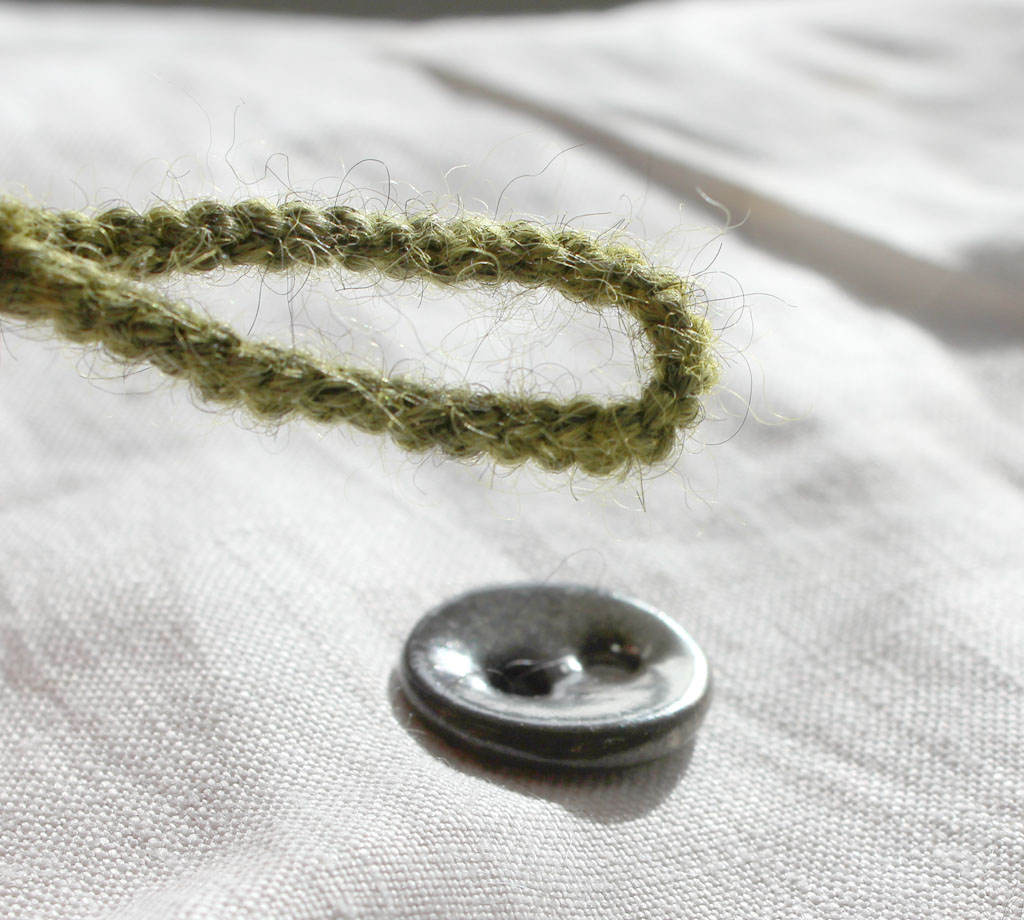
More possible uses for a tie-cord…
Gift wrap.
Button loop.
Rat tails.
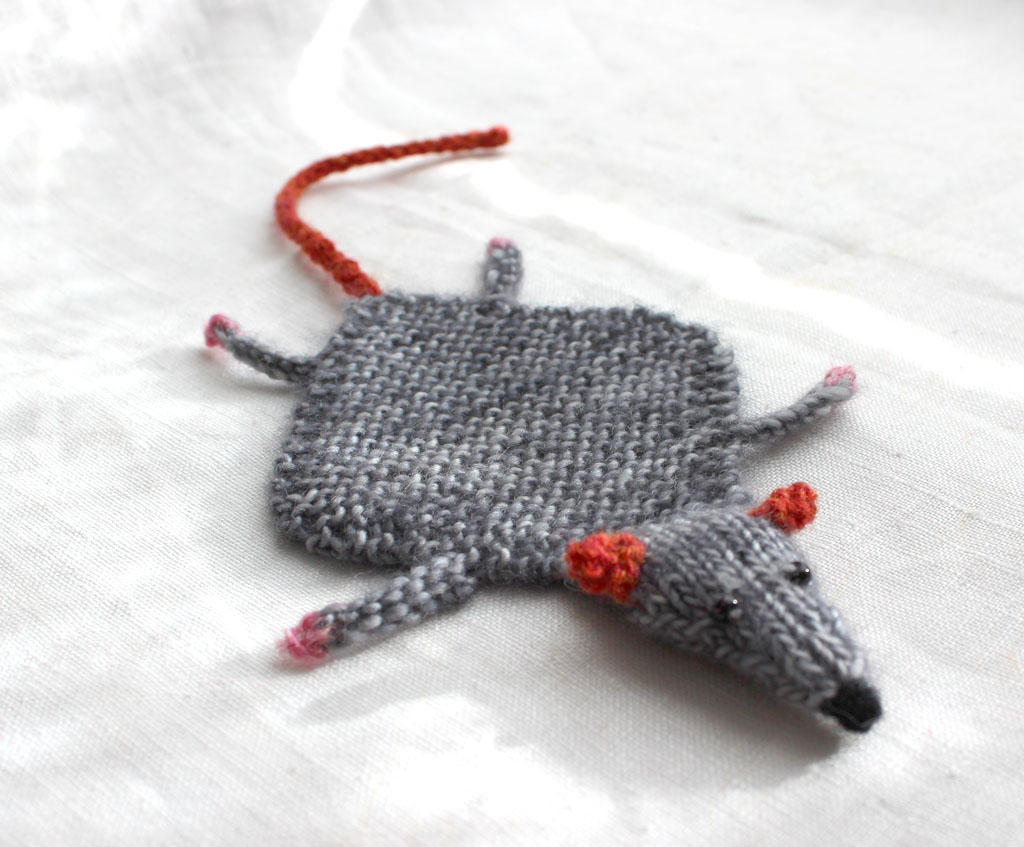
A knitter and friend (a test knitting friend at that) sent me this lovely little rat. It’s a Fleegle (of Gossamer Web) rat (pattern)
I love my rat. She serves as coaster on my desk (I hope this is not disrespectful).
Eventually I also had to make one just (well…) like it, for it looked like a bit of frivolous fun (I used Chantal’s tweaks of the pattern).
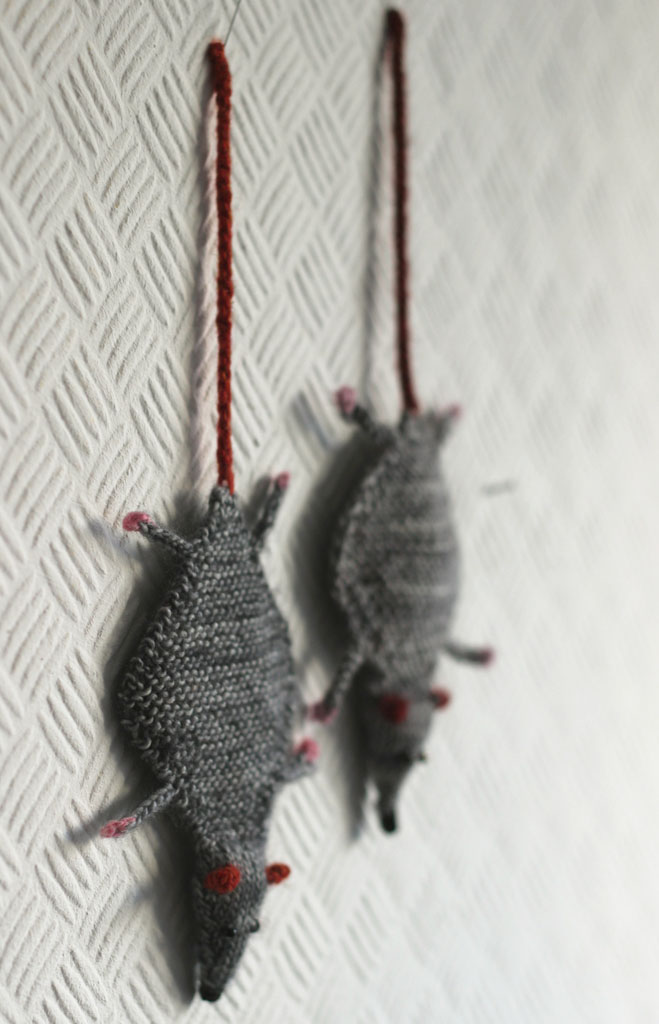
Mine is not as cute as Chantal’s. Hers (in front) has a more perfect mien. Mine looks a little goofy…
The tail obviously had to be a tie-cord — and looking more closely at Chantal’s rat, one can see that’s precisely what her rat is sporting.
Want to know what’s up my knitted sleeve? Sign up for the occasional Åsa Tricosa Newsletter.

4 Comments
Hallo liebe Asa, 2021 hatte ich von der Ziguratmethode gehört u auch gleich versucht, ein Teil zu stricken. Zum Glück gibt es in der Nähe einen Wollladen, dort hat die nette Wollfee mir geholfen u sie hatte sich gleich eine Jacke mitgestrickt!! Mein Pullover ist auch fertig u sieht gut aus.
Frage: Gibt es ALLGEMEIN GÜLTIGE ANLEITUNG IN DEUTSCH, mit der man Pullover nach eigenen Maßen stricken kann??
Wäre es gut, mir Ihr Buch zu kaufen?
Danke für Info und alles Gute and HAPPY KNITTING!!
Gitta Welte
Liebe Gitta,
Some of the Ziggurat patterns are available in German (here is a link to my translated patterns on Ravelry). The book is not translated, but some of the patterns in it are.
Cheeerio!
Åsa
Took me a few goes to get my head around it but it’s great.
I will be using this!
Great!
(There’s a brief video tutorial on Instagram that may be easier to follow).